Agricultural Valuation – aka “Ag Exemption” – with Honey Bees
Do you own 5 to 20 acres? Are you interested in saving hundreds, maybe even thousands on your property taxes each year (especially by preventing rollback taxes!) ? Are you a land developer that has properties that need to maintain Ag Valuation until building can begin – years down the road?
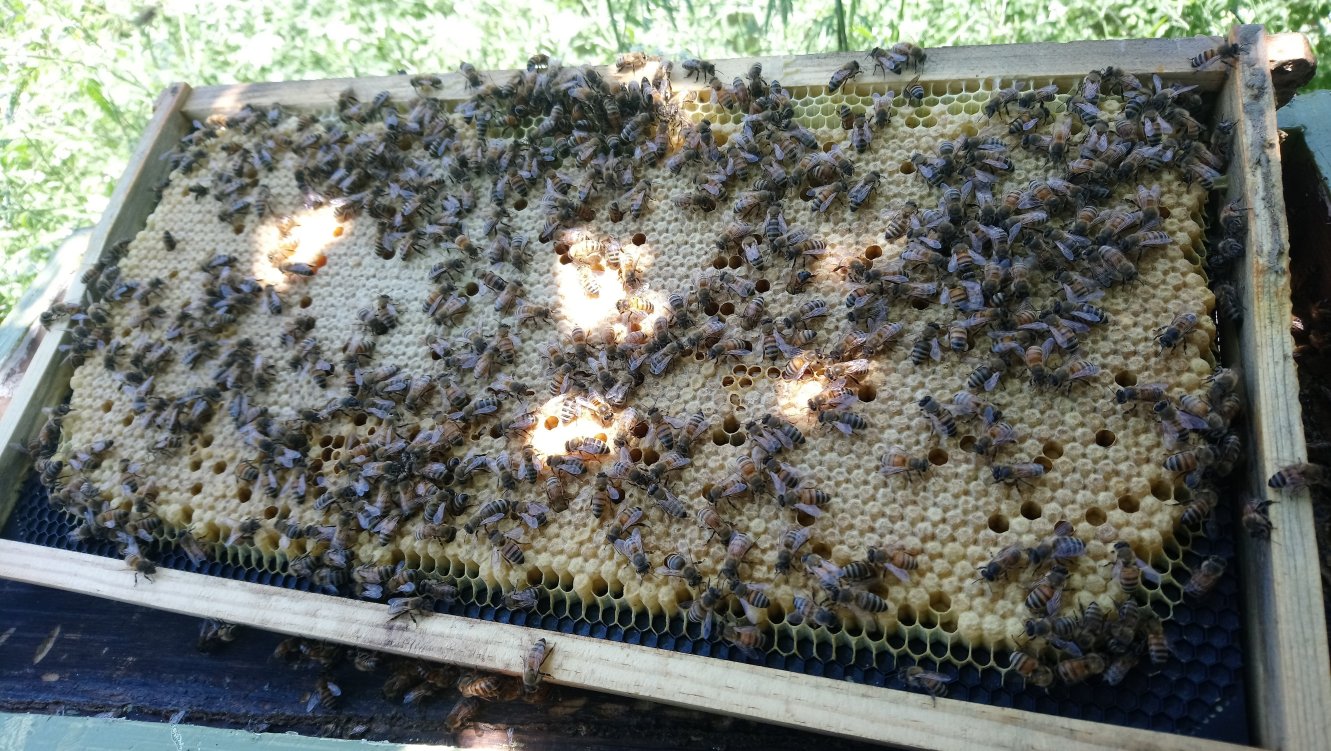
If so, having honey bees can help you qualify. We (Rex Smith – Harmony Hollow Apiaries and Laura Winters of Birds and the Bees Apiary) perform agriculture maintenance with our hives to land owners for a reasonable management fee. We do everything to manage and maintain the bees, and once qualified, you reap the rewards that ag-valuation provides for your property for the use of your land.
Have our Honey Bee hives to qualify for an Ag Valuation and leave the Beekeeping to Harmony Hollow Apiary. Call Rex at 469-251-2BEE (2233) for more information and pricing.
January 2026 – Contact us about having bees placed in Spring of 2026 – to continue (or start) your ag history for early 2026 ag placement. New commitment requests will be quoted and filled as livestock are available.
Requests in late March through Summer will be filled as available. State LATE deadline for 1-D-1 paperwork to your appraisal district is April 30 2026.
Texas law, effective January 1, 2012, made it possible for beekeeping to qualify for an Agricultural Valuation (commonly called “ag exemption” – see below) on property taxes. This is covered in the Tax Code under Chapter 23, Subchapter D, Sect. 23.51 (1) and (2).
An Agriculture Exemption is not actually an Exemption but rather a Special Valuation. If a portion or all of a property is deemed eligible to receive an Agricultural Valuation, that property will receive a Production Value along with its Market Value. The tax savings that a property receives depends on the current Market Value of the property and what type of Ag Valuation you are requesting. For example, Native Pasture areas may have a lower Ag valuation than Dry Crop areas and generally both are considerably lower than the market value that the taxes would normally be based on. That is dependent on county. (Some counties do not differentiate they type of agriculture activity, and have 1 rate for ag no matter the qualifying activity. Other counties have different rates for different activities).
There are several key phrases and requirements to this law. Sect. 23.51 (1) covers the definition of “qualified open-space land”. Specifics state land that has an established agricultural use history for five of the preceding seven years. Record keeping and documentation is critical.
Registration and permitting with Texas Apiary Inspection Service (TAIS) helps establish this history. Wording of the law states agricultural use to the degree of intensity generally accepted in the area. Each local appraisal district sets their own standards as the accepted degree of intensity. Most appraisal districts use a minimum of six colonies (beehives) as a standard. That is the accepted definition of an apiary from Texas bee law under the Agriculture Code, Title 6, subtitle A, Chapter 131, Sect. 131.001 (2). (Which has just changed as of the 2023 Texas Legislative session- as they removed the number of hives definition).
Size of qualifying acreage is not less than 5 or more than 20 acres. Remember the definition of agriculture use. Losing an acre to a homestead exemption has to be accounted for on acreage. (check with your appraisal district to be sure, though -as some counties allow the full acreage without removing an acre for the home)
Also, realize the landowner does not have to own the bees (except Rockwall County). You may hire the maintenance of bees from a beekeeper who owns the hives. Again, keep accurate and complete records. The wording of the law states “the use of land to raise or keep bees for pollination or for the production of human food or other tangible products having a commercial value.”
Lastly, it is important to stress the fact that each local appraisal district can set their own standards and requirements for the beekeeping valuation. Please contact your local appraisal district for guidance and minimum requirements. Some counties may want to see a copy of a bee maintenance agreement or land access agreement as part of your documentation before coming to evaluate your property for ag valuation. Some require a special report be submitted annually. Most county appraisal districts now have this information available on the county appraisal district website.
 Benefits include:
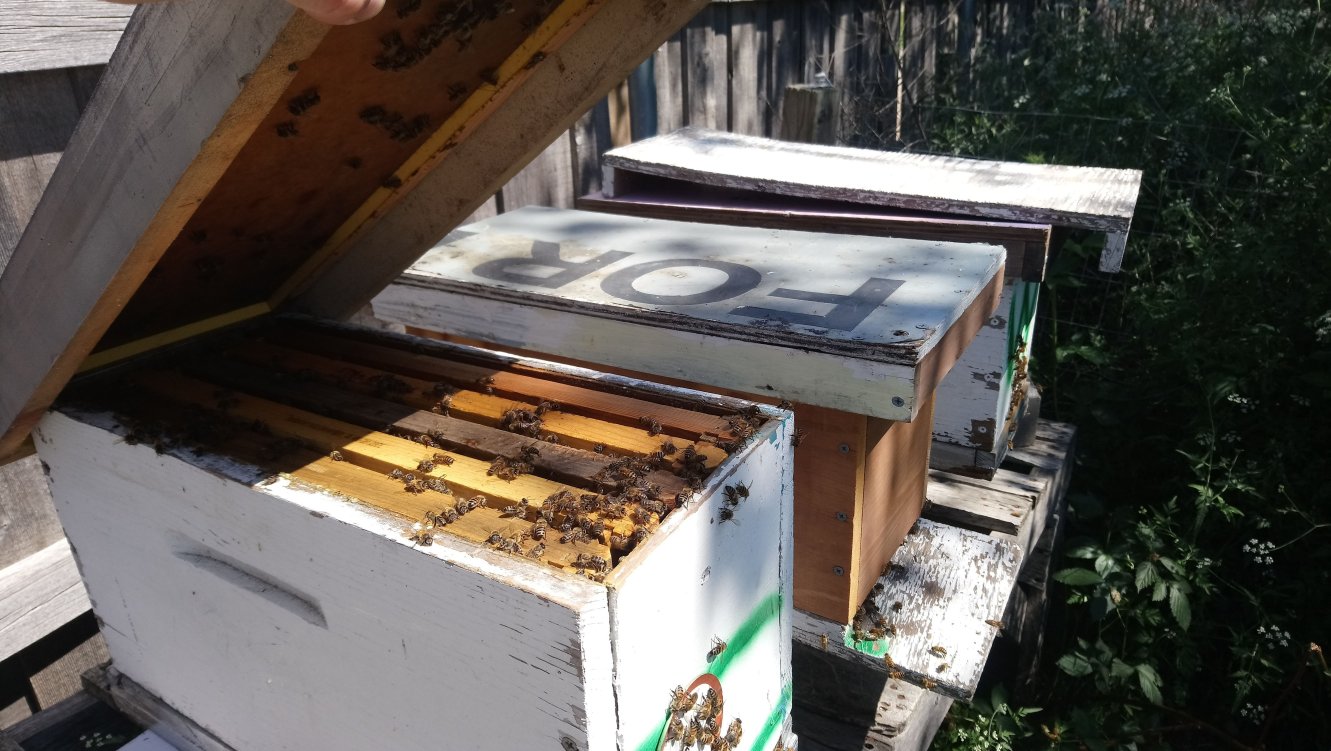
- Professional management and maintenance of beehives on your property
- Annual Beekeeper Registration through the Texas Apiary Inspection Service (TAIS)
- Pollination for your property
Contributing to the welfare of the honeybees
- Annual Report listing harvested (and non-harvested if applicable) tangible products with commercial value.
- Qualifying requirements for Harmony Hollow Apiary management include:
The site must be suitable for bees and provide the necessary elements for bees to thrive. A complimentary site visit will be scheduled for prospective clients. A Honeybee Management Plan is included – and lists expectations of flowering plants that the landowner should seed or plant – for the benefit of honeybees and ALL other native pollinators.
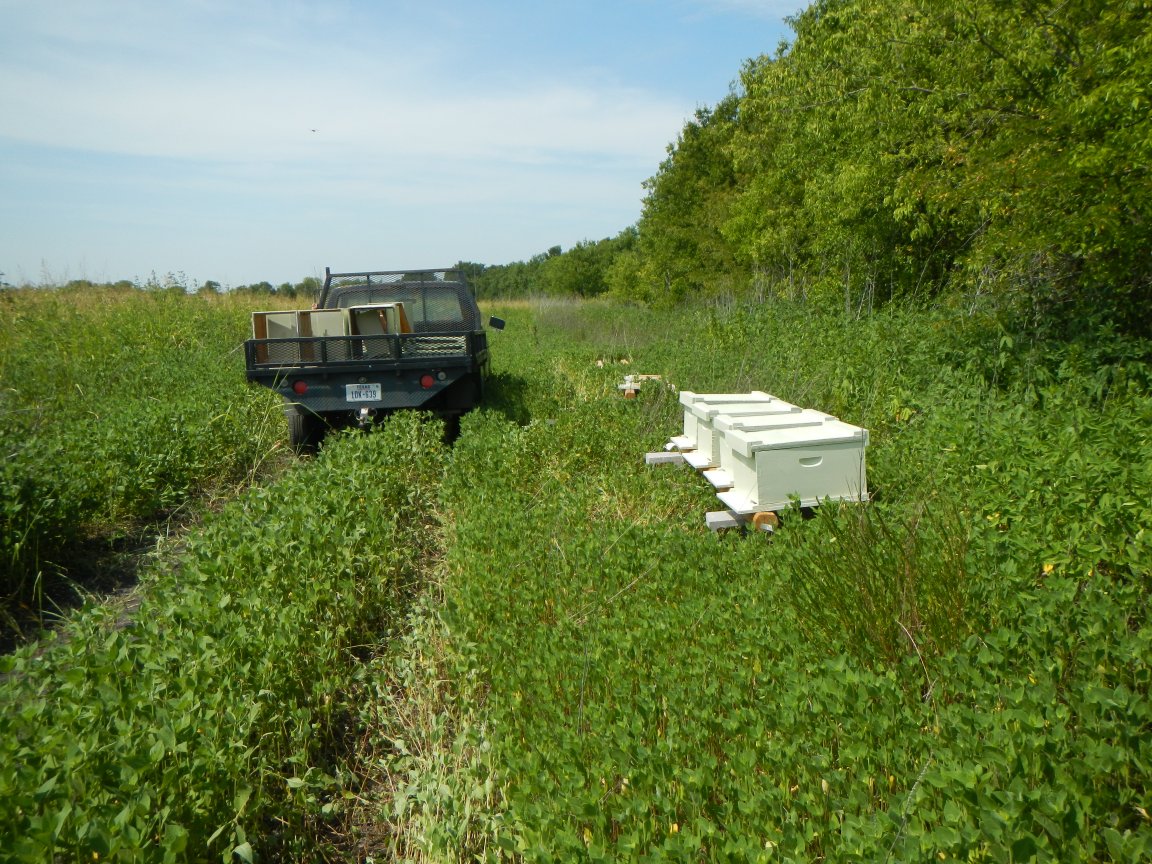
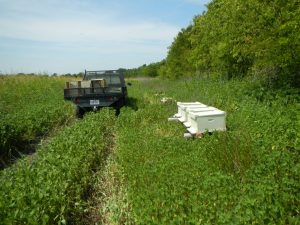
Harmony Hollow Apiary must have unrestricted access to the location of the hives at all times. (For locked properties – I can/will provide a lock to add to your chain of locks on a gate – or you can provide me with a gate code)
A 2-wheel drive vehicle must be able to access the area where the hives are located and park no further than 10 yards from the hives’ location.
Harmony Hollow Apiary reserves the rights of ownership to the bees, the equipment, and the products of the hives.
Honeybee Management Plan
Pollinator Plants for Texas – I HIGHLY recommend having a food-plot on your land for producing food for human consumption. This helps and is in the spirit of the law allowing bees as a livestock in Texas as the pollinators for those plants.
Apiary Registration: As of 1 Sept 2023, Texas Apiary Inspection Service will no longer process “Apiary Registrations” – that has been changed in the last legislative session to “Beekeeper Registration”. The property owner can register as “the beekeeper”, or the beekeeper (if hired) can register as “the beekeeper” for the property. I personally register annually – and can list your property under my registration. The appraisal district MAY have upcoming guidelines listing who THEY want to see listed (either property owner, or hired beekeeper). That registration is NO LONGER FREE. It is now $35 per year.
https://txbeeinspection.tamu.edu/
For areas where you OWN the hives – You may need to pay the TAIS their fee ( $10) for them to issue a “brand ID number” to you. (Otherwise – mark the hives or the apiary with an identifying name/contact info – which is perfectly acceptable to law enforcement or TAIS)
For hives that Harmony Hollow Owns – our ID number is marked on the equipment.
Your county appraisal district will have the 1-D-1 Application for you to fill out for ag use of your land. Note: Placement and management of hives on your land is NOT a guarantee that the appraisal district will approve ag valuation for your property, nor is it a guarantee or a promise that there will be a honey harvest in any given year.
We are based near the Dallas, Texas Metroplex. However, we cover a large portion of North and East Texas. Contact us to reserve bees for your property.
Registered with Texas Apiary Inspection Service, Department of Entomology, Texas A&M University. Copy of past transport permits for Harmony Hollow Apiary are available here: http://www.bohemianutopia.com/permits/ (Note – as of Sept 1 2023 – There are no longer intrastate transport permits issued by TAIS).
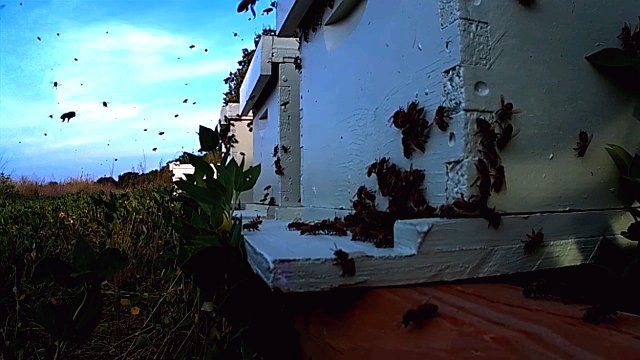
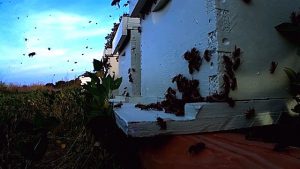
I also recommend putting up a sign to warn people about the dangers of agribusiness (farm animals – which includes bees). Harmony Hollow has signs for locations where we own the bees – and signs are available at a cost of $20ea for locations where the property owner owns the bees)
Update – December 2024
Harmony Hollow and Birds and the Bees Apiary also offer services to build and maintain areas of food production – as Texas Property Tax Code also mentions that:
“Agricultural use” includes but is not limited to the following activities: …
… “producing crops for human food” …
“The term also includes the use of land to raise or keep bees for pollination or for the production of human food or other tangible products having a commercial value, provided that the land used is not less than 5 or more than 20 acres.”
Consultation and/or installation:
- Wildflowers to seed the property
- Trees that benefit both pollinators as well as humans for food
- Garden Plots for “Producing crops for human food”
Pollinator Plants for Texas
Sometimes – it’s necessary to have a fence surrounding the hives – to protect the bees from other livestock ( cattle, horses, goats, sheep, etc) – or from humans. Click this link to a page with some sample fencing that my customers have provided – along with a sample of an effort that did not work so well:
Fencing the Bees
North Texas County Ag Valuation Requirements
Varroa Mite Management in 2025
Scientific Beekeeping – Varroa
Newsletters