(note: click pics for larger versions)
Several years back, for another project – I had visited a house that was in process of being demolished – in order to reclaim some of the building materials. (Yes – with permission and blessing from the demolition crew) One of the items that was saved from the bulldozer was a fireplace mantle. The house had been built in the 1930’s-1940’s (from what we had been told) – and the fireplace mantle was HUGE – and a shame to let be demolished…. So it was put onto my trailer after some gentle persuasion with a pry-bar.
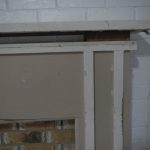
My home was built in the mid 1970’s – and had a cheaply made facade of a mantle – made only of crown molding – attached to a 2×4 that had been set into the mortar of the chimney.
The old mantle (sorry – no pics that I have been able to find) was removed – and plans progressed to decide how the fireplace’s new look would be envisioned.
The brick around the fireplace would be painted white, as well as the body of the mantle. – The trim would be black, as well as the brick within the inside area of the mantle.
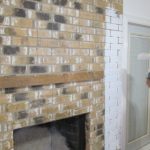
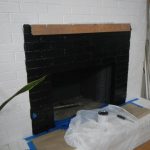
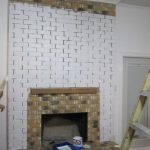
The surrounding brick was painted white, and the inside of the fireplace was painted black with hi-temp paint… Then life happened, and the project sat for a while – with an electric heater/fireplace in front of the real fireplace.
Challenges and work to perform – would be to:
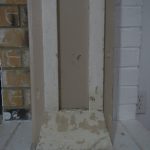
- cut the legs to lower the mantle – so that it could be affixed to the 2×4 already in the wall
- Remove about 3 inches of wood from the horizontal board that cross over the fireplace entry – to open up the view of the fireplace
- replace the crown molding under the mantle shelf
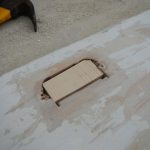
- fill a large hole in the mantle shelf that had been used for electrical wires/plug in the mantle’s former home
- repaint the wood for a more contemporary modern look (I’ll talk about that later)
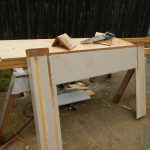
First order of business was to take plenty of pictures of the mantle before it was disassembled. The structure was simple enough that it could be rebuilt completely if needed. The structure of the legs and cross member was replaced with a fresh board behind each seam – and screwed into place – instead of the nails that had formerly done the job. (The nails allowed too much flex in the overall body of it)
The trim pieces and shelf were removed. And measurements were carefully taken… multiple times…. (measure 3x, cut once!!!)
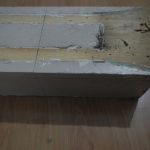
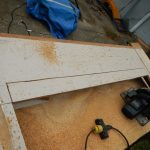
The legs were then cut with a skil-saw. The horizontal member was then measured and marked – and also cut with the skil-saw. Finish cuts of the ends were made with a Japanese draw-saw for a flush cut.
Sanding…. 80-grit, then 150-grit – all with an electric sander. I suspect the 3-layers of old paint may have had some lead-based paint in them – and possibly oil-based layers more recently – so a mask was worn when sanding. Primer of all the surfaces was then applied. (I used Kilz Original – which is oil-based, however allows latex paints to be painted over it)
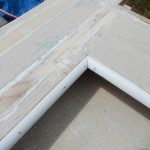
New 3/4″ quarter-round was put into the inside edges of the mantle, and filler was applied to all the seams and nail holes. Sanding commenced again.
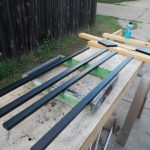
Black and white enamel appliance paint was used for the final coats. 3 coats each of the white and black paints.
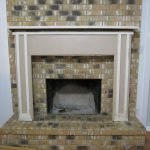
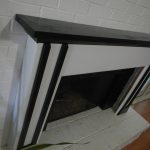
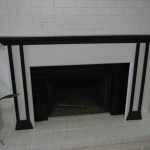
And the finished, installed, new-to-this-home fireplace mantle.
While I an very proud of my work on this project – it’s a bit “contemporary” for (a) my personal taste, and (b) my current furniture. Eventually, I’d like to place “fireplace glass” into the fireplace with a new burner for it. Then new projects on the horizons. 😉

Leave a Reply
You must be logged in to post a comment.